Information Services
Grad Students
New Students
System Outages and Maintenance
Contact and Hours Information
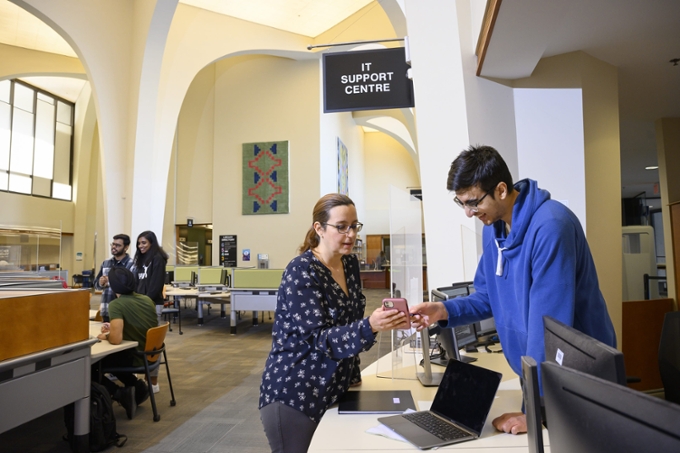
IS Service Desk provides a variety of services and assistance to students regarding accounts, logins, passwords, outlook email, WiFi (eduroam) and internet access, public labs, and printing. We ensure your concern is recorded, assigned, and addressed in a timely manner.
There are two Locations on Campus where you can get Technical Assistance
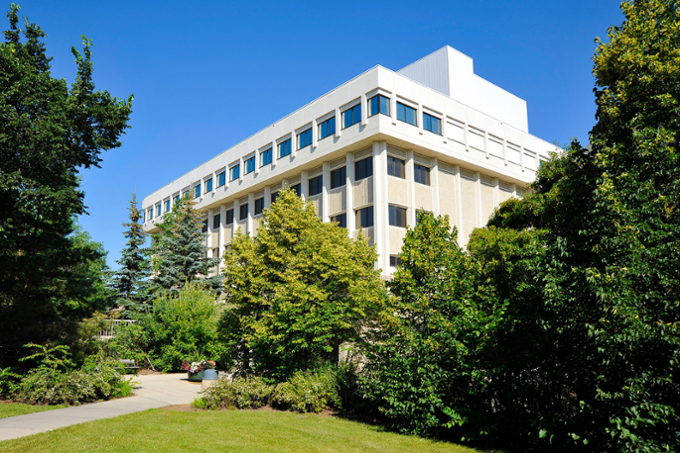
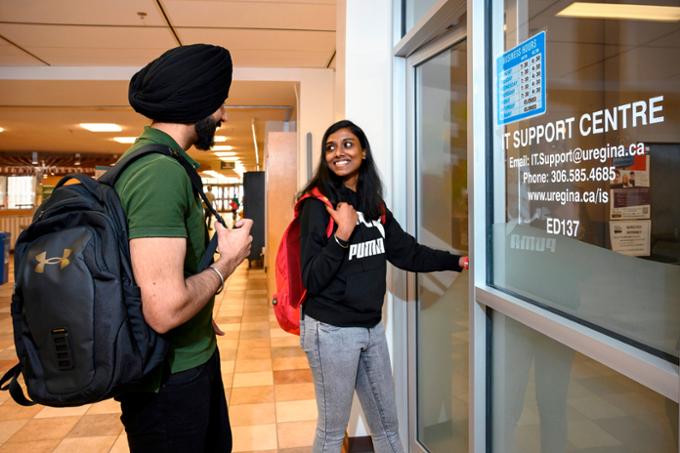
- We are located in the Education Building, main floor, ED 137.
- Dr. John Archer Library Help, is located left of entrance doors, main floor commons. The library also has many public computers and printers for student use.
Meet Chatbot - CHIP!

Chatbot CHIP is a generative AI-powered assistant designed to help users navigate Information Services IT services. It provides instant answers to frequently asked IT-related technical questions and guides users to answers, like how to change a password, username, or how do I login to UR Courses, and more.
- Find the Chatbot on Information Services webpages, including this one (bottom right - chat icon).
- Chatbot CHIP is available 24/7 and is especially helpful for after-hours tech support when the IS Service Desk is closed.
- See, Chatbot Chip FAQs for more information.
IS Service Desk
Phone: 306-585-4685
Toll-free in Canada: 1-844-585-4685
Email: Service.Desk@uregina.ca
Phone-In Hours
Monday - Thursday: 7:30 AM - 9.45 PM
Friday: 7:30 AM - 9:45 PM
Saturday & Sunday: 9 AM - 9:45 PM
IS Service Desk
Education Building 137
In-Person Hours
Monday - Friday: 7:30 AM - 4:30 PM
Dr. John Archer Library
IS Service Desk Help
In-Person Hours
Monday - Friday: 8:30 AM - 9:45 PM
Saturday & Sunday: 9 AM - 9:45 PM
Connect With Us
IS Service Desk Quick Tips
- If you suspect malware or your device is blocked from the network, or if you received a ticket notification from the IS Service Desk that your system has been blocked from the network, use available online tools to scan and clean your system.
- Network access can be restored after confirmation. The Service Desk offers basic virus removal for $25 (student account charge), with no guarantee of success.
- Some infections may require OS reinstallation, which is not provided.
- Additional protection resources are available from Information Security
Note: Some viruses/trojans are almost impossible to remove, and some may return if the same activity is repeated. We do not guarantee that the work will be successful. If re-installation of the operating system is required to mitigate the virus, we will not be able to complete the work for you.
- At this time, we do not provide computer technical support for student-owned computers and laptops.
- Grad Students working with Faculty may be assigned a University-owned computer or laptop and may need hardware and software support, see Grad Student Hardware and Software Information.
Duo and Zoom are both restricting service from users whose IP addresses originate in a country or region subject to economic and trade sanctions enforced by the U.S. Office of Foreign Assets Control.
OFAC restrictions relevant to Zoom currently apply to the following countries or regions:
- Cuba
- Iran
- North Korea
- Syria
- Ukraine (Crimea, Donetsk and Luhansk regions)
This includes remote access via the U of R VPN, and RDP. UR Courses can be affected for students. For more information on Zoom restrictions, visit the Zoom Support website.
OFAC restrictions relevant to Duo MFA currently apply to the following countries or regions (Employees use MFA to access U of R applications) https://www.uregina.ca/is/mfa/mfa-applications.html:
- Cuba
- North Korea
- Iran
- Sudan
- Syria
- Crimea region
- Sevastopol region
- Donetsk region
- Luhansk region
Cybersecurity Tips
Information Services has a Password Management Policy. The policy applies more stringent security controls for passwords based on information sensitivity of IT systems accessed by University of Regina users.
This policy consolidates password management controls to encompass all University applications and is applicable to all faculty, staff, students, and affiliates. It consists of 3 documents; the governing Password Policy (OPS-050-035) and two supporting technical standards.
Use strong, unique passwords based on system sensitivity—longer passwords with mixed case, numbers, and special characters. Avoid reusing passwords, as this increases the risk of compromise.
Your new password is required to satisfy the following:
- Minimum 8 characters for students, 10 characters for employees, 16 for employees in High-risk areas.
- Maximum 30 characters.
- Must contain at least three out of four of uppercase, lowercase, numeric and special characters.
- Password must not include the special characters: @ $ \ " ' < > ;
- The new password should have at least 2 new characters compared to the old one, and at least one change in the first 8 characters.
- Cannot contain first name, last name, username, or birth date.
- Cannot contain any 4 digits found in student/employee ID.
- Cannot contain any sequence of increasing or decreasing digits greater than 3 (1234XX or XX4321 for example).
- Cannot contain any character repeated three or more times.
- Locate a "Report" button for Phishing or Malware in the top navigation of Microsoft Outlook (email) and select "Report" to submit a report for Phishing emails.
- Alternatively, forward the suspicious email as an attachment to Report.phishing@uregina.ca
Printing Services
Printing experts providing extensive print solutions
Administration-Humanities Building 118
Phone: 306-585-4488
Fax: 306-585-4780
Email: Printing.Services@uregina.ca
In-Person Hours
Monday to Friday 8:15 AM - 4:30 PM
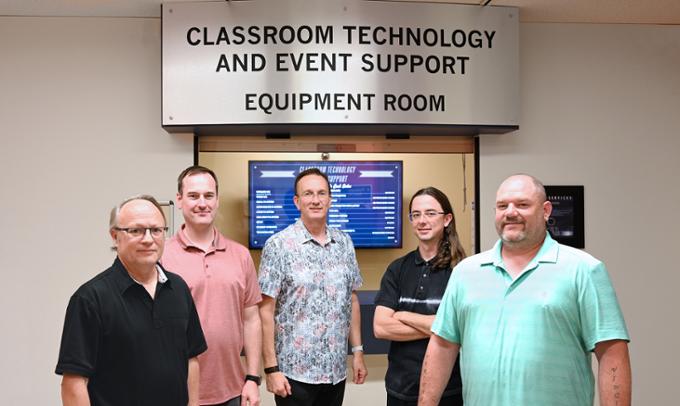
Classroom Technology and Event Support (CTES)
We provide classroom technology and events support for the University of Regina.
Education Building, 166
Phone: 306-585-4476
Email: CTES@uregina.ca
In-Person Hours
Monday - Friday 8:15 AM - 4:30 PM
Evenings
Monday - Thursday 6:30 PM - 10:00 PM
(during Fall and Winter Semesters)
Closed on Holidays
Information Security & Cyber Security
- Phishing, viruses, and malware.
- Campus Cyber Advisories.
- Information Security Policies & Standards.
- Technology Risk Assessments.
- Cybersecurity Resources.
- Reporting Information Security Incidents.
Report Phishing
- Locate a "Report" button for Phishing or Malware in the top navigation of Microsoft Outlook (email) and select "Report" to submit a report for phishing emails.
- Alternatively, forward the suspicious email as an attachment to Report.phishing@uregina.ca